
Sub-Total: $0.00

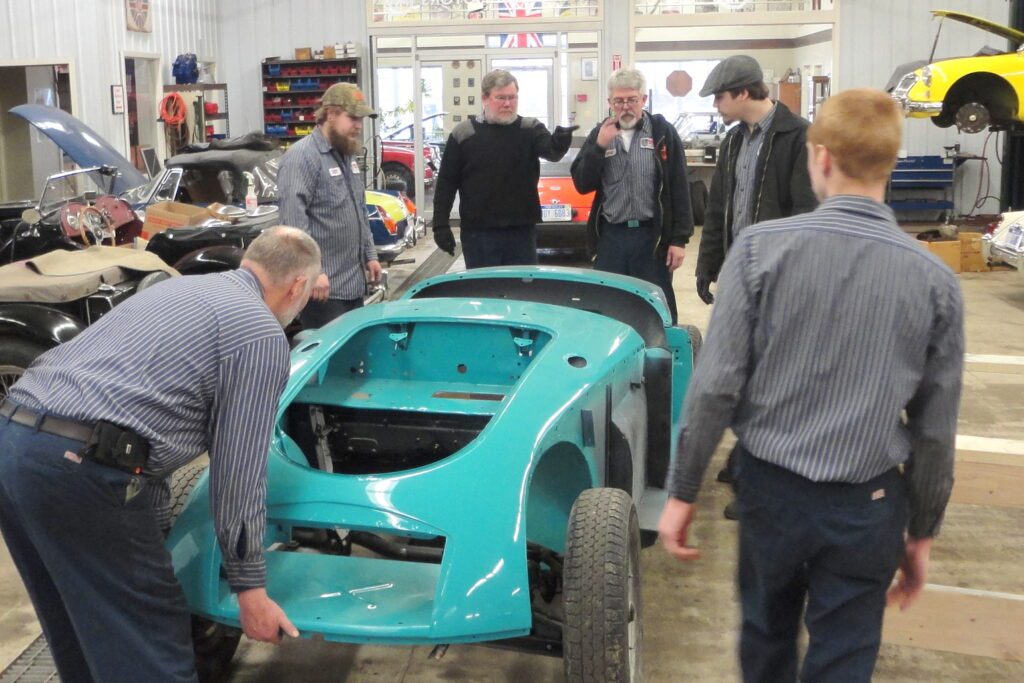
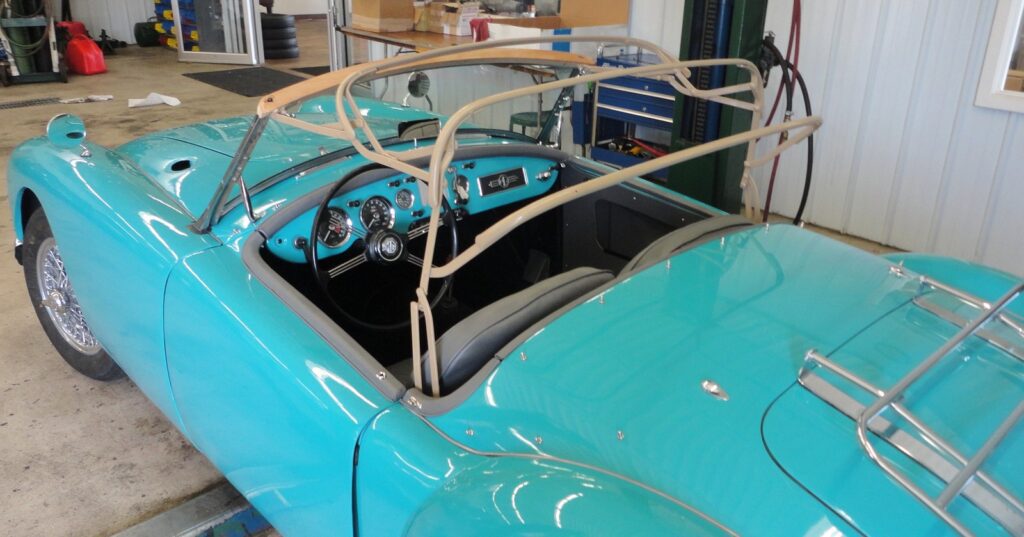
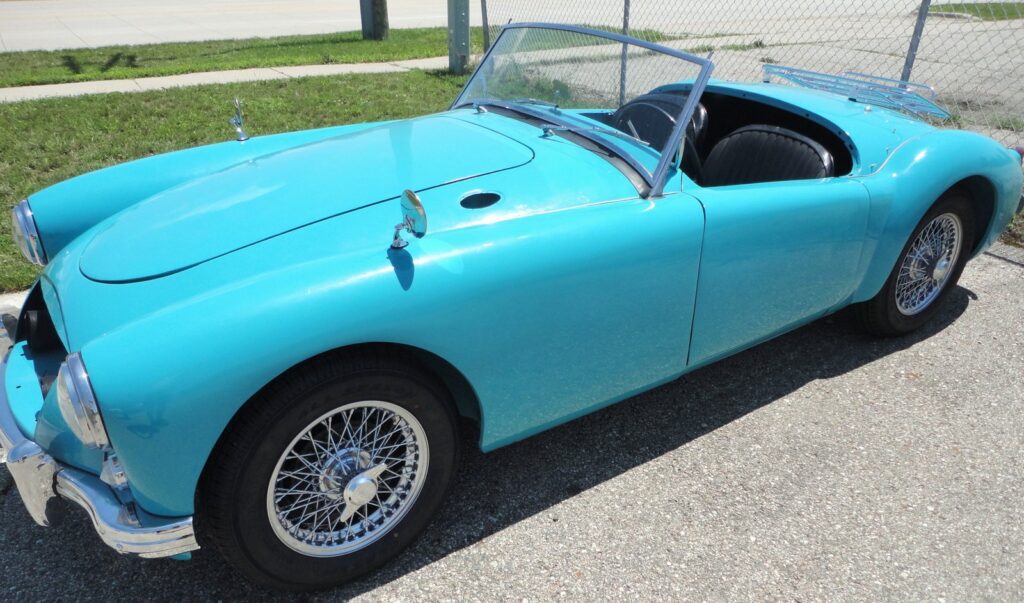
Restoring an MGA
The MGA restoration is a huge project! It will eat up time and money for several years. Take your most liberal estimate of the time and cost — then multiply by three or four to reach the actual time and money you’ll have invested. A case can be made for professional assistance on those parts of the restoration that require more time, experience, or tools that you might have.
You must have a workshop. You must have tools. You must have a copy of the factory parts list which shows every assembly in the MGA in exact detail. It is good to have as many more publications as possible before you begin. You must be able to spend $6,000+ in cash over the time of the restoration.
I meet many people who begin a restoration, then cannot continue. MGA restoration projects are more difficult than the T series or the MGB. The MGA body requires precise fitting because the parallel lines between the door and sill, and between the door and front / rear wings must not vary in width. Further, there are no straight lines on the MGA body — nearly everything is a compound curve.
In marked contrast, the T type is a dream. Everything either overlaps (e.g., the doors), or an imprecise line between components makes little difference (e.g., wings to tub) as they are filled with fender piping. The MGB is even less complicated, as nearly every repair part is available new. The body requires precise fitting of the wings, but the doors rarely change position from body fatigue.
The MGA body often is found, not only with bad body rust, but with a rough frame too. The T type frames are rarely found with any bad rust — and the MGB really has no frame, as all the “body work” encompasses the structure of the monocoque body.
Components as the engine, gearbox, differential, brakes, suspension, electricals, and interior are no more complex in one model than another, depending on your point of view.
Therefore, as the body is the most important, most costly, and most demanding part of the restoration, it should be attended to first. When you commence your restoration you have more resolution, more money, and more interest than you will find later. Use this myopic resolve to accomplish this most difficult task foremost.
Well, almost first…
It takes only three days to completely disassemble the MGA — to reduce it into a pile of nuts, bolts and rusty, greasy components. You can disassemble everything – the body, the dash, the fuel pump, the carbs, the engine – to a frenzied mess of torn panels, cut wiring, and snapped bolts. As exciting as may seem, don’t even consider this approach! All those things that happen to other people might can happen to you — a financial reversal; an extreme change in priorities; a change of address; a change in marital status. If your MGA is reduced to a pile of boxes, rusty bits, and small bottles, it is nearly worthless. Should you have to change it back into Arabic numerals, you may not even get the purchase price back! Never take the MGA all apart at once!
Instead, use the step-by-step approach detailed below. Should you have to put the MGA back on the road, should you have to sell it, should you have to move it, it will be easily reassembled. Overall, the project won’t become overwhelming.
First, assuming that the MGA is complete, you need to get it on the road for two miles, two weeks, or a season. This is for two reasons:
1) You’ll be able to diagnose problems — is the engine satisfactory? — is the gearbox silent in first and does the 2nd gear synchro work? –does the differential howl?
2) You need to drive the MGA — you need to know what it is like to pilot an MGA in traffic, to enjoy it on a warm summer’s night, to open it up on a straightaway. If you know what you’ll be missing during the restoration, you’ll get the MGA done more quickly.
This approach is not possible, of course if you’ve purchased it from someone who took it all part years ago and finally gave up on the project. Yet if it is as simple as replacing the engine — do it!! Get the brakes fixed and DRIVE IT! Before bringing it into the garage for work, find a power washer and spend several hours washing grease and dirt from the undercarriage, engine bay, and suspension.
Begin by walking around the MGA with parts catalogues writing down every part that you believe you’ll need. This includes all the rubber parts, all lenses, all chrome parts that are available new (as re-plating is usually more expensive than purchasing a new part), the interior, carpeting, hood, etc. The final tally will shock you!
Then, order those parts! If you order several thousands of dollars of parts at once, you’ll purchase them less expensively than you will in the future. And, if there is some part on back order, it is better to have ordered six months or a year before it is required rather than a week before, only to find that the part is not available for six months. This is also an incredible financial commitment on your part and will urge you to work with the MGA without restriction of waiting for parts. You’ll find enough obstacles in this project without creating them!
Then, begin disassembly. Remove the taillight assembly. Clean it, buff it, replace it, solder on new Lucas bullet connectors, replace the bulbs, test it, fit it with every part needed for reassemble (nuts, bolts, screws, gaskets) — and place it in a clear plastic bag on the shelf.
Then take the next taillight off and repeat the process. Take nothing more off the MGA until the last item has been completed and packed. In this way you can always replace the items you have removed should you have to!
Follow this sequence, with variation: Taillights, rear bumper, license assembly, petrol filler cap (cover the exposed petrol opening!), grille, front running lights, headlights, front bumper, body vent grilles, hood and bows (do not fit a new hood now), windscreen (always fit a new glass!), lift the dot fasteners.
Drain and remove the petrol tank, the rear bumper extensions, front bumper outward extensions, radiator, brake master cylinders and pedal box. Finally remove the cockpit trim rails, front and rear.
Now you can begin the body work! Remove the front and rear fenders and repair the sill area, using new inner sills and outer sills in nearly every case. Place tubes between the front and rear of the body cockpit (electrical conduit is just fine), run a threaded rod through this tube from back to front — shim the tubes if necessary, with washers — then tighten up the rods. This will fix the body door openings and will prevent the body from collapsing when it is lifted off the frame.
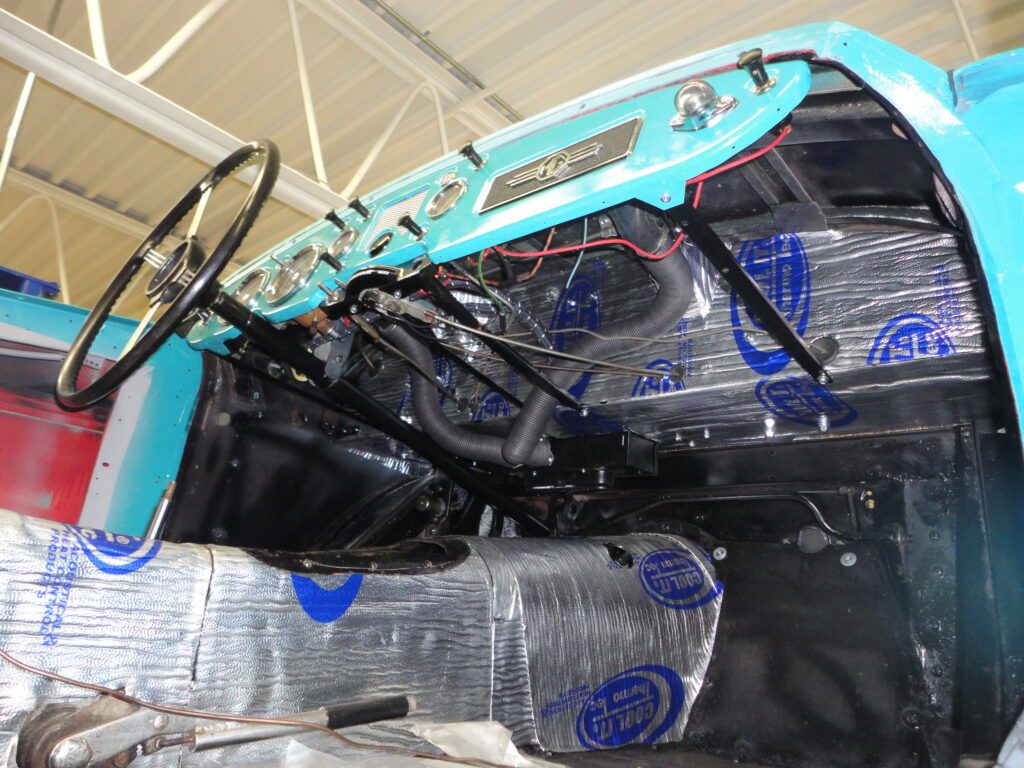
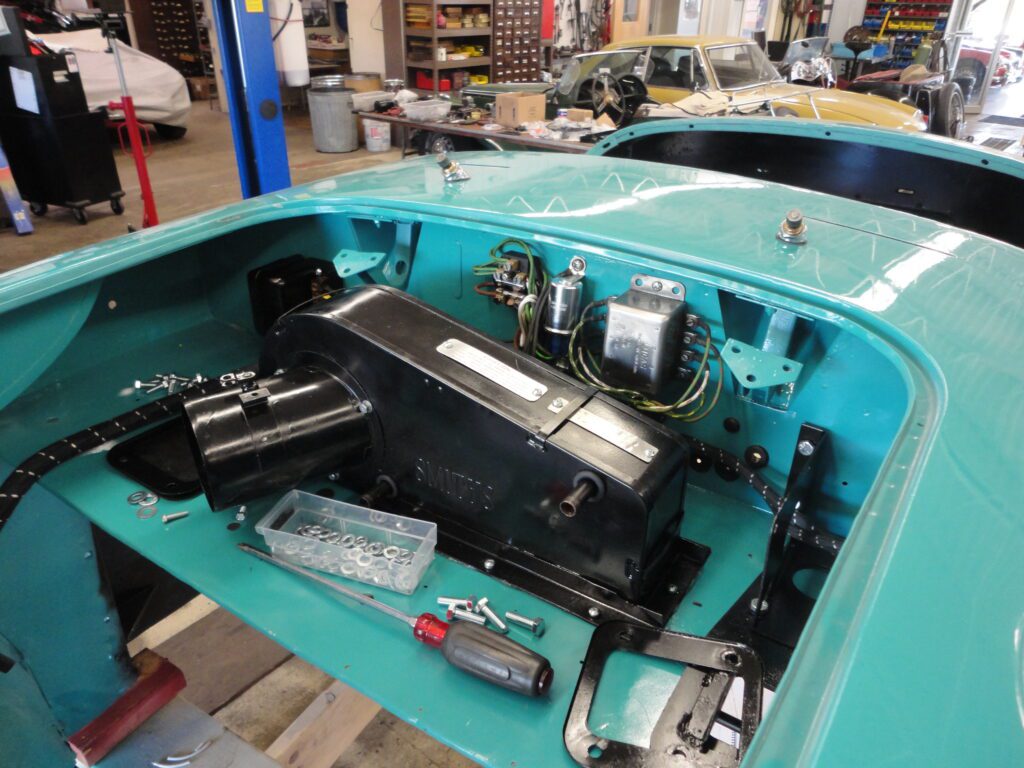
Disconnect all the body bolts, the steering wheel support, wiring, engine controls and temp gauge line, brake/clutch lines, and lift the body from the frame. Support the body on sawhorses. Now the heater box, dash, wiper motor, and interior panels are more easily remove. The interior of the body is now accessible for welding, and all those bulkhead components are much more easily worked.
Remember, at each part — clean it, buff it, replace it, solder on new Lucas bullet connectors, replace the bulbs, test it, fit it with every part needed for reassembly (nuts, bolts, screws, gaskets) — and place it in a clear plastic bag on the shelf.
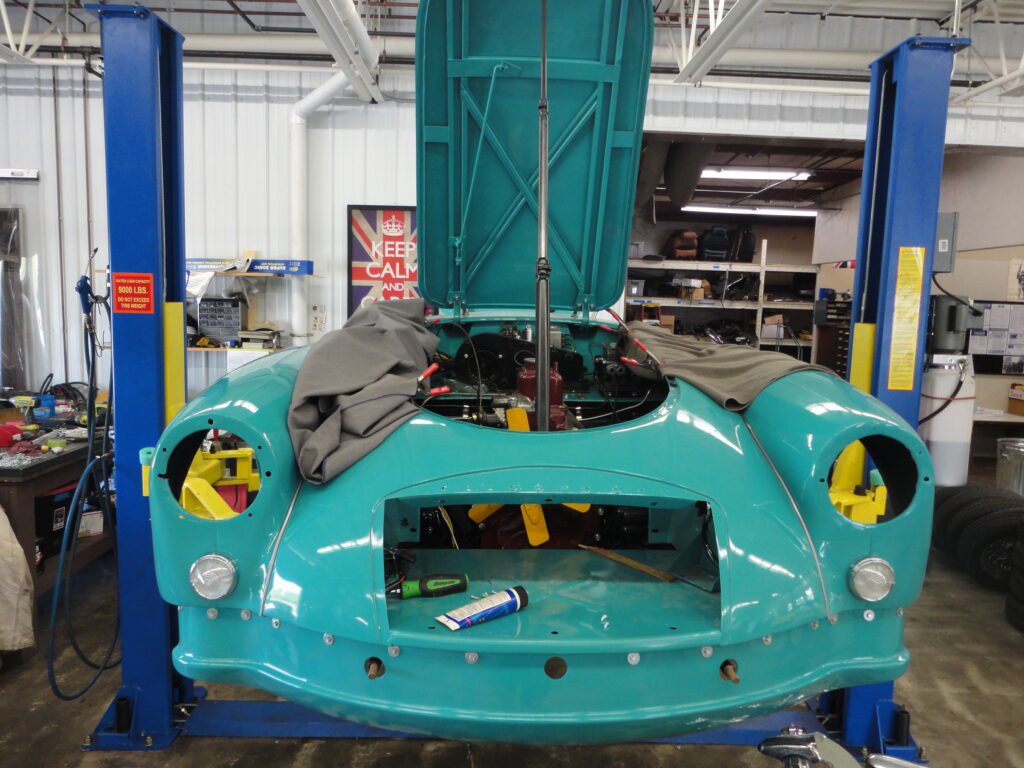
Once the body is clean, the welding can be performed, and the body fitting, body filling, sanding, priming and painting are much easier. Consider painting the inside of the body in enamel as it is durable and has its own shine. Paint the exposed part of the body in lacquer as a much better finish can be obtained. Hang the body in the garage or attic and allow the paint to cure for the next year or so.
Now the fun begins! Suspension, brakes, chassis, battery boxes, gearbox work, clutch, engine work — and a word of caution here. Most engines are OK. An engine can eat up $1200 in parts and machine work. If your engine is OK, leave it alone! So many times, we see the engine done first. Some poor sot has an MGA in a million pieces, all rusty and cruddy, pieces mixed up and a bottle marked “small parts.” But here’s the engine all pretty and waiting for a good home. He’s out of patience and money. Don’t rebuild the engine unless you must absolutely do so!
Once the chassis is complete, refit the petrol tank, the master cylinders, and brace up the radiator. Go out
and drive it. You’ll want to drive it for two reasons:
1) To find any problems with the brakes, gearbox, engine, suspension; and
2) you’ll need this burst of excitement to thrill you into completing your project.
Now return to the body. Fit the new wiring loom, the dash, the heater box, the wiper controls, and the rear fenders. Trim the inside except for the front and rear cockpit rail. It is far easier to work on the body at this time, rather than to work around the engine or lie under the dash with the gearshift knob in your ear. Remove the petrol tank from the chassis, replace the body, refit the tank, the bumpers, grille, and drive away!
Perhaps the restoration is not quite as effortless as this approach may appear — but from field experience I am certain that this approach will work best for nearly everyone. The proper sequencing of steps is so very, very important to keep the project going. You’ll experience times when all you will think and do is the MGA restoration; other times it will languish without attention for weeks or months. No one can keep up a constant attack on such a project. Expect periods of waxing and waning interest. But, with this approach, you’ll never find yourself impossibly deep into the project.
Good luck!